
Autonomous Maintenance Step 3: How to Establish CIL Standards
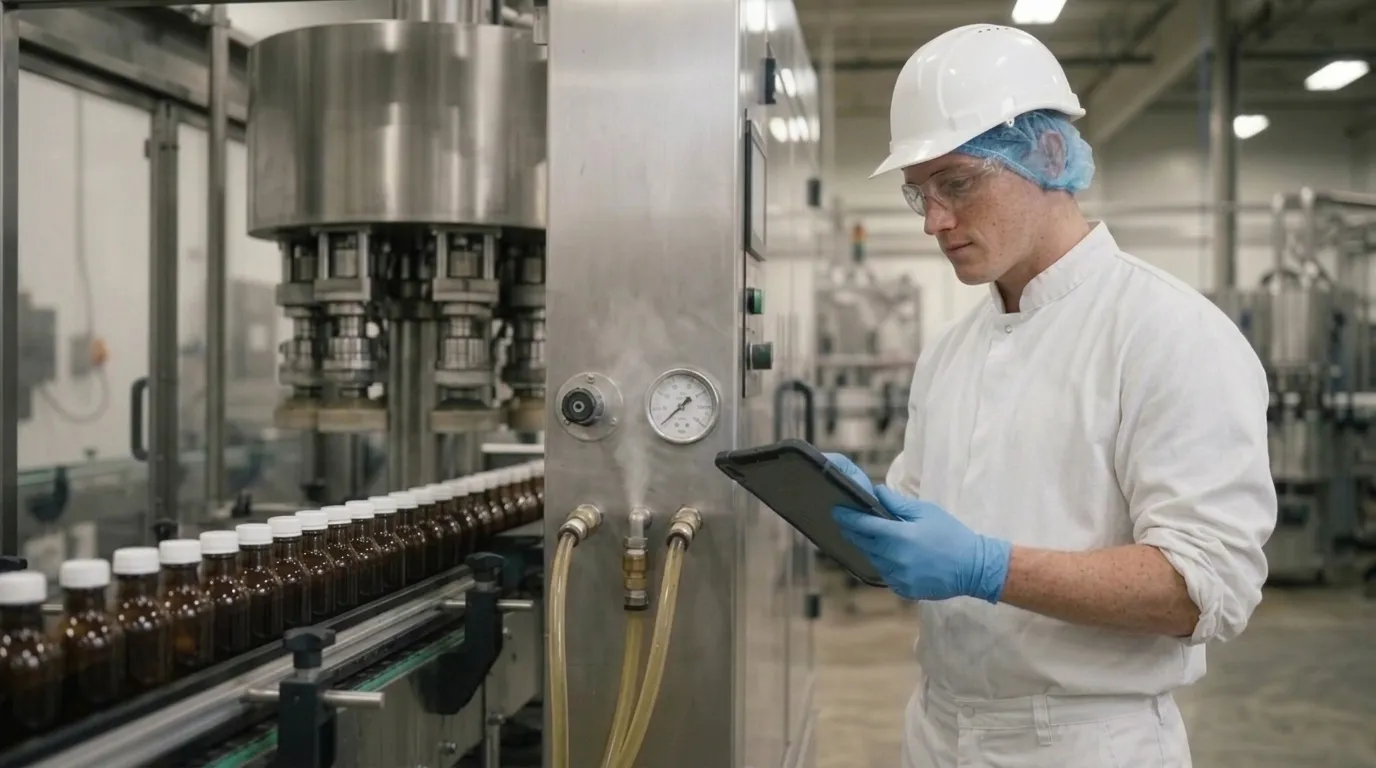
Table of contents

Share:


Ask three operators how to lubricate the same capper and you'll get three answers. Each one is reasonable. None of them is written down.
That's the gap step 3 closes. Until there's a standard, how well a machine is maintained depends on who is on shift, and every inspection result means something slightly different. Get the standard right and the checks are fast, consistent and trusted. Get it wrong (too long, too vague, written in an office) and it gets pencil-whipped within a month.
Step 3 of the 7 steps of autonomous maintenance turns what you learned in steps 1 and 2 into written CIL (clean, inspect, lubricate) standards. Here's what a standard needs, how to write one operators will actually follow, and the four snags that stall most rollouts.
What is step 3 of autonomous maintenance?
Step 3 defines what operators clean, inspect and lubricate on each machine, how, how often, with which tools, and in how long. Older TPM materials call it Standardization or "tentative standards," because the first version is expected to change.
These standards become your CIL forms. Everything operators do in steps 4 and 5 runs off them, so the effort you put in here pays off for the rest of the program.
What goes into a CIL standard?
| Element | What to define | Example |
|---|---|---|
| Check point | The exact component, marked on the machine | Drive chain, infeed conveyor, operator side |
| Task | Clean, inspect or lubricate, and what “good” looks like | Inspect for slack: no more than 10 mm deflection |
| Method and tools | How to do it, with which tool and material | Food-grade grease, two pumps from the marked gun |
| Frequency | Per shift, daily, weekly or monthly | Weekly, at the Monday changeover |
| Time | Minutes the task should take | 2 minutes |
| Safety | Lockout required or not, PPE | LOTO required, cut gloves |
| If it fails | Who to tell and how | Log an abnormality with a photo; it routes to maintenance |
The examples are illustrative; set your own limits from manufacturer specs.
How to write CIL standards operators will follow
- Start from the manufacturer. Most equipment comes with lubrication schedules and operating ranges. Use them as the baseline, then adjust from experience.
- Use what steps 1 and 2 found. The defect tags and contamination fixes tell you which points actually fail.
- Write it at the machine, with operators. Walk the line with the people who will do the checks. They know which points are hard to reach and which instructions get misread.
- Keep it short. Some lines have thousands of potential check points. Limit centerline checks to the 5 to 20 variables that matter most, and use ECRS (eliminate, combine, rearrange, simplify) to trim the rest.
- Time it against the shift. If a CIL can't be finished inside the time the line allows, it won't be. Clock operators doing it before you lock it in.
- Show, don't describe. A photo of each check point and the correct gauge reading beats a paragraph of text, especially with multilingual crews.
On the operator’s CIL standard
Frequent, low-risk, quick to check
- Cleaning and visual checks
- Lubricating marked points
- Reading gauges against marked ranges
- Checking bolts against match marks
- Logging anything abnormal with a photo
Left with maintenance
Needs specialist skills, tools or qualification
- Disassembly and part replacement
- Electrical and hydraulic work
- Calibration
- Anything behind a guard operators aren’t trained to open
- Root cause analysis on repeat failures
Keep the standard short. If a CIL can’t be finished inside the shift, it won’t be.
Where do centerlines fit?
Most plants fold centerline checks into the CIL. A centerline is the target setting for a key variable (pressure, temperature, speed) with a lower and upper limit. Setting them follows four steps: identify the variables that matter, set the best range for each, confirm how each affects the product, and make sure production runs inside those ranges every shift.
Four snags that stall step 3
Operators see it as extra work. Involve them in writing the standard and they own it. Recognize the people who catch problems, publicly and often.
Production squeezes it out. Put CIL time into the production schedule as a fixed block. If it's "when there's time," there won't be.
Shifts do it differently. A standard on paper drifts by shift. One digital version, with photos, keeps nights and days doing the same check. Short cross-shift handovers help too.
Safety gets assumed. Every task needs a clear lockout call and the right PPE written into the standard, and operators trained on it before they start.
How Weever helps with step 3
Each standard becomes a digital checklist with the photo, target range and time for every point. Schedules run per shift, daily or weekly, and missed checks are flagged. When you change a standard, it's live on every line at once, so there's no old version taped to a guard.
“Weever’s Inspection scheduling feature was a huge time saver. I could just set up the inspection schedule and not worry about it. I was alerted when an inspection was missed and I could see at any time an overview of pass, failed and missed inspections. It made it really easy to manage participation.”
Mark, Maintenance Manager, Global CPG Manufacturer
Read the case studyNext: teach operators to inspect
Step 3 is done when each machine on the pilot line has a written CIL standard that fits inside the shift. Next comes step 4: general inspection, where operators learn what failure looks like. Back to step 2: eliminating contamination sources.
Ready to put Autonomous Maintenance into practice?
Get Weever’s Ultimate Guide to Autonomous Maintenance, featuring implementation best practices, CIL and centerline workflows, and examples from food and CPG manufacturers.
Download the Autonomous Maintenance Guide (PDF)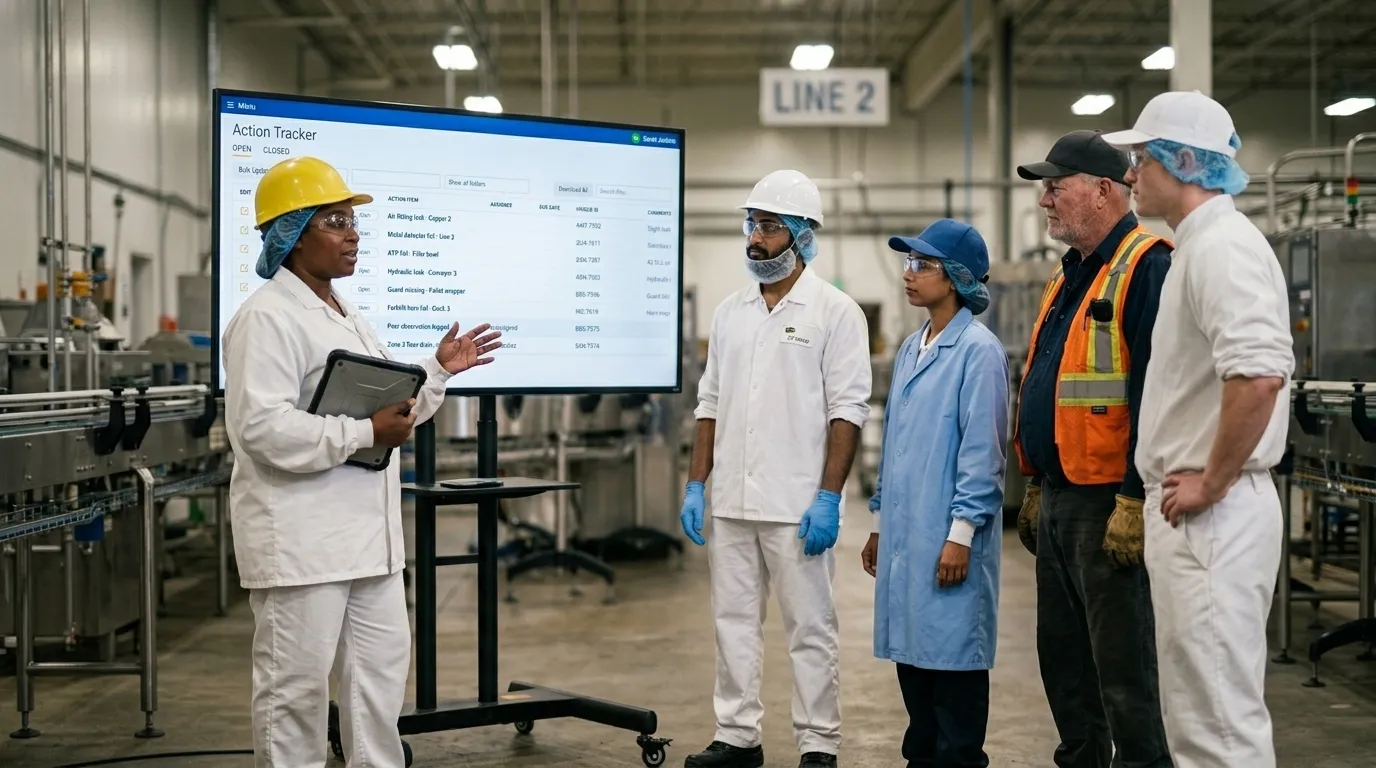

Spend Less Time on Admin. More Time Improving Operations.
See how Weever automates data entry, reporting, and action items so you can focus on improvement not admin.